
Oh hi! So glad to have you here! What better way to kick things off than to invite you into my own home. Pull up a cozy chair and grab a cup of coffee and let’s chat a bit.
For my first post I want to give you a little tour of my own home, more specifically our main floor. I bought this house with my partner over ten years ago, so suffice it to say I had A LOT of time to consider what needed to change to make it more functional. The house was definitely a fixer upper when we bought it and over the years we have done a lot of work to it. But a big project that we had put off for a long time was the main floor. It was one of those things that we knew would be all or nothing since the entire main level needed work and each room ties into the next, so we wanted to wait until we had the means to do it properly.
The house is a 2 1/2 storey four square that was built in the early 1920s. It’s not huge, each floor is a little under 500 sq ft. We knew we eventually wanted to remove the wall between the kitchen and the dining room in order to extend our kitchen along the back wall of the house to make it more spacious. The wall in question was a structural wall and so it would require a support beam and new footings in the basement to support the post holding up the beam (and the basement is also a finished apartment with people living in it, so add that to the list of things to sort out). On top of figuring out how to move our tenants out of their home for a month, we also needed to get permits from the city for the structural work being done. So we needed to do a lot of planning up front before the project got underway.
We had a couple big priorities for this project;
-adding in as much closed storage throughout the main floor as we could. This included built in cabinetry in the entry, storage bench in the dining room and optimizing our kitchen design
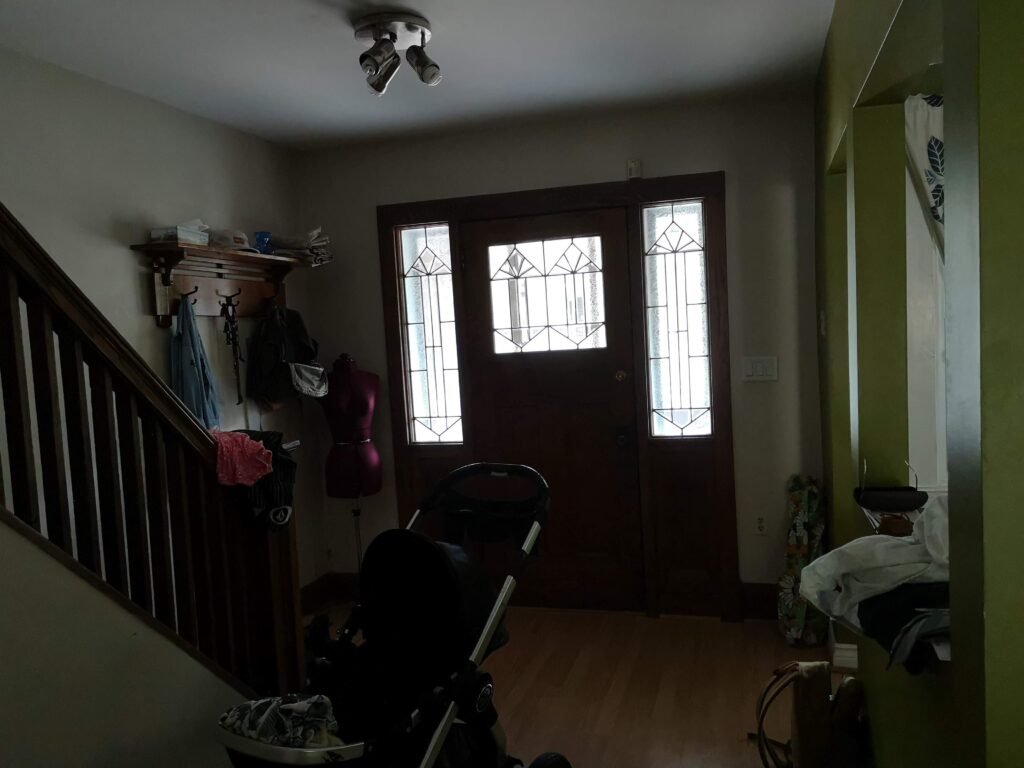
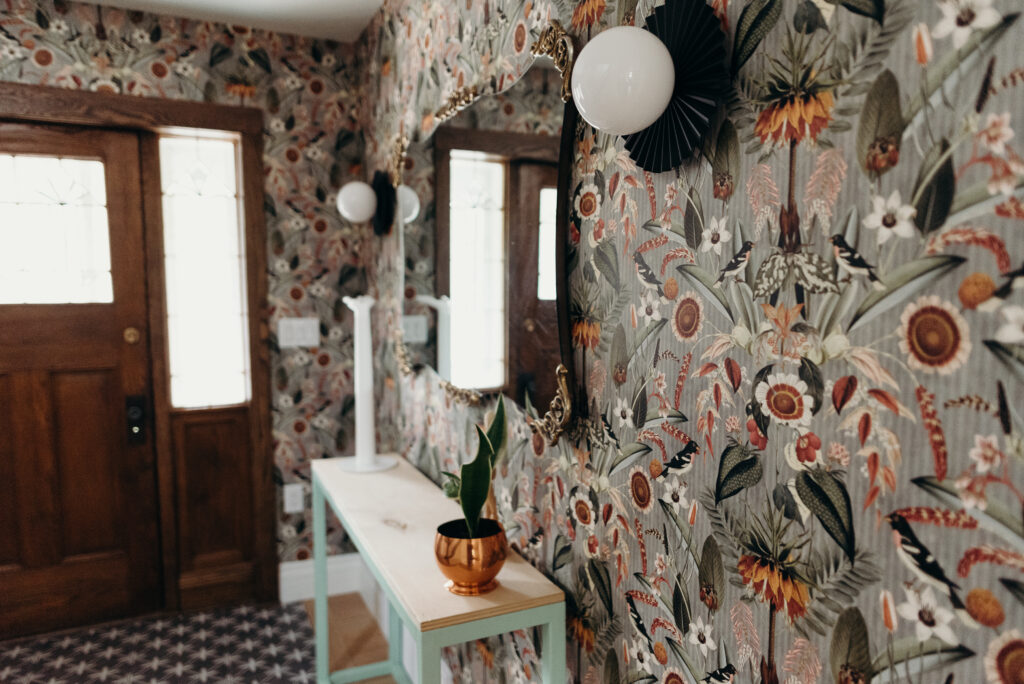
-preserve the historical features we still had (stained glass windows in the living/dining room, the stairs, the front door) and adding in new features that were reminiscent of the 1920 character as the previous owners had removed most of them. Basically, we wanted to honour the home’s heritage but still make it functional and fresh
-allow the natural light to move through the entire main floor better (through new windows and choosing finishes that would promote bouncing the light around)
Here are some photos of the kitchen before.
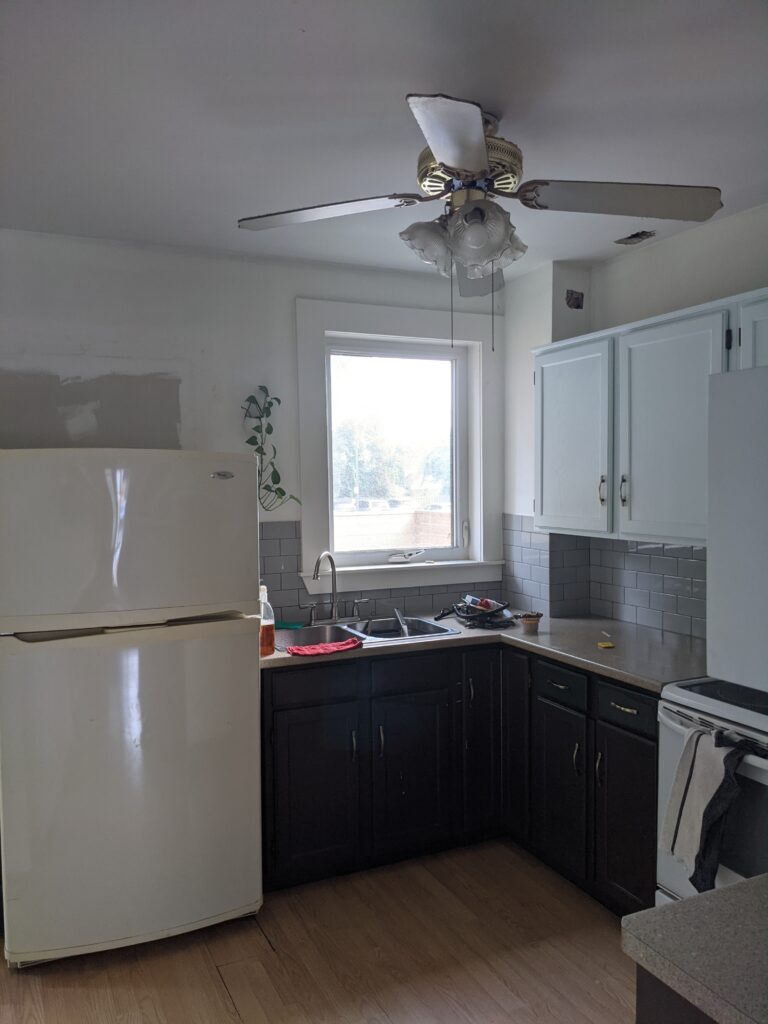
When we first moved in, the kitchen was in pretty bad shape and since we knew we wouldn’t be doing any major renovations in that space for a long time, I did strip and paint the cabinets within the first year (the lacquer was sticky and gross, so we needed to do this if we wanted to extend the life of the cabinets). I also installed new hardware, brought in a new countertop (which was extended on the one end to make a spot for a dishwasher and give us a bit of a larger work area), installed a new backsplash and a new kitchen sink (the old one was stained and cracked).
This small upgrade bought us about 10 years of life while we focused on other things (we actually had tenants living in the house for about 5 years while my husband was in school) so I’d say it can definitely be worth doing smaller updates like this if you aren’t looking to do a full kitchen renovation but want/need to do something.
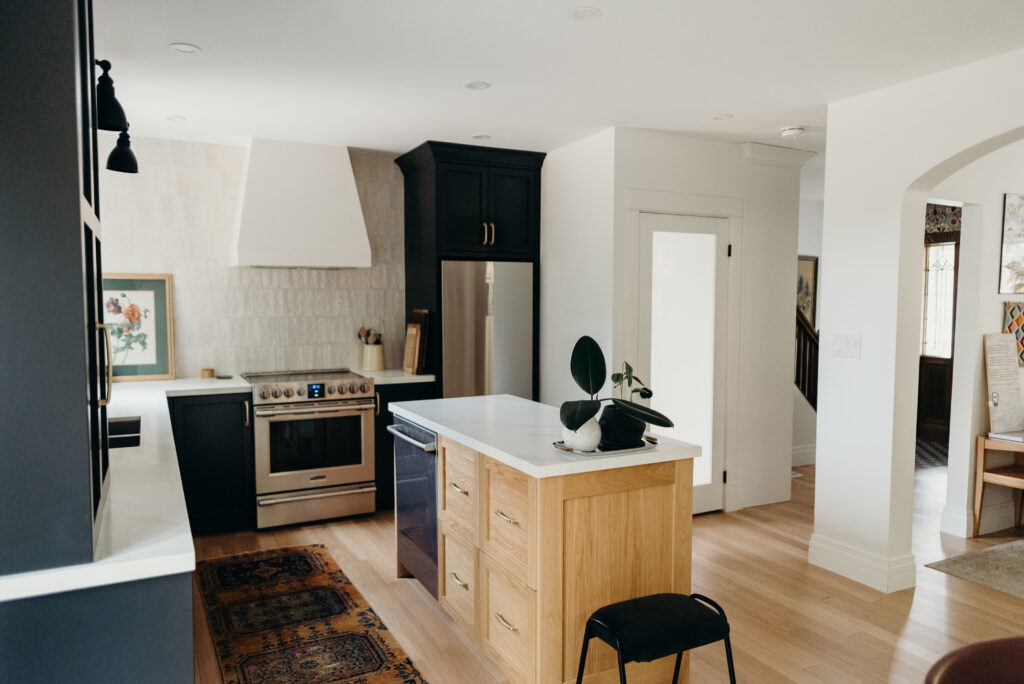
However, all of these smaller upgrades, though great for a while, still didn’t solve how cramped the space was and how inefficient the storage in the kitchen was. So we finally got to a point where we were ready, both financially and mentally, to do the entire main floor renovation, including a custom kitchen.
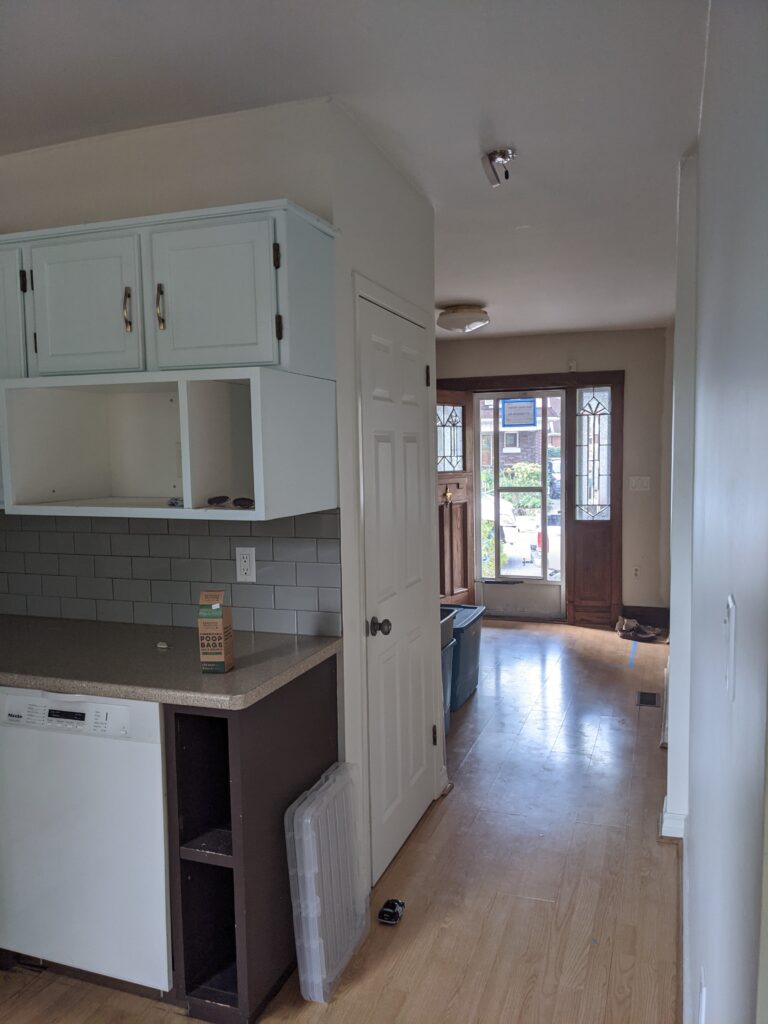
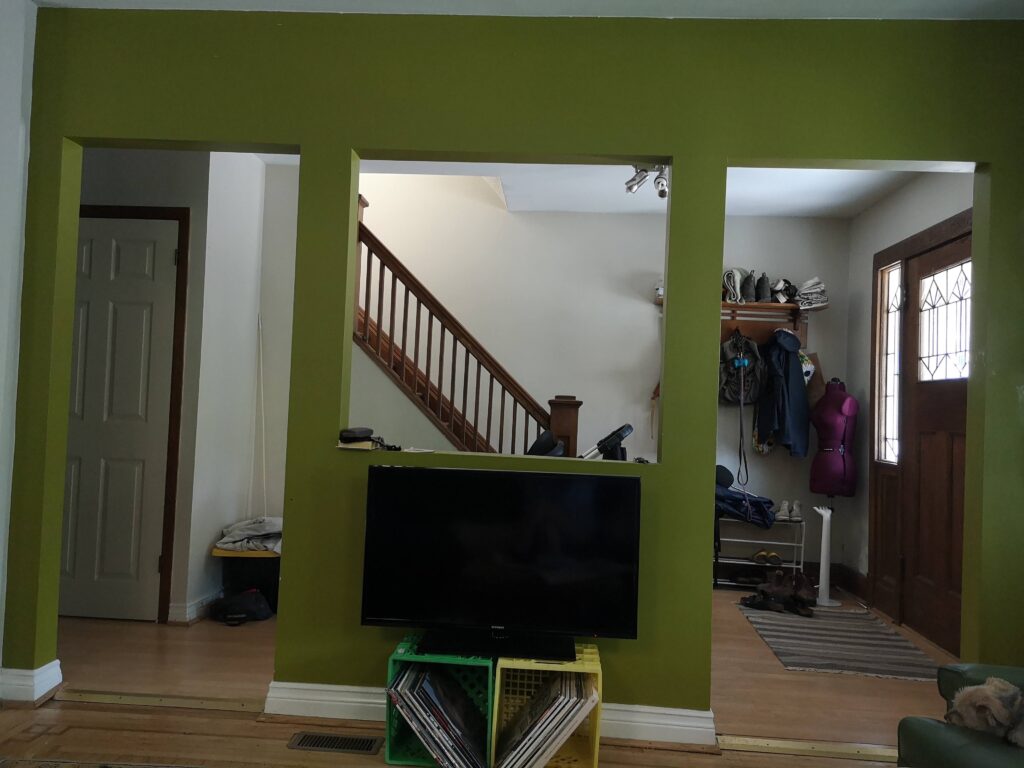
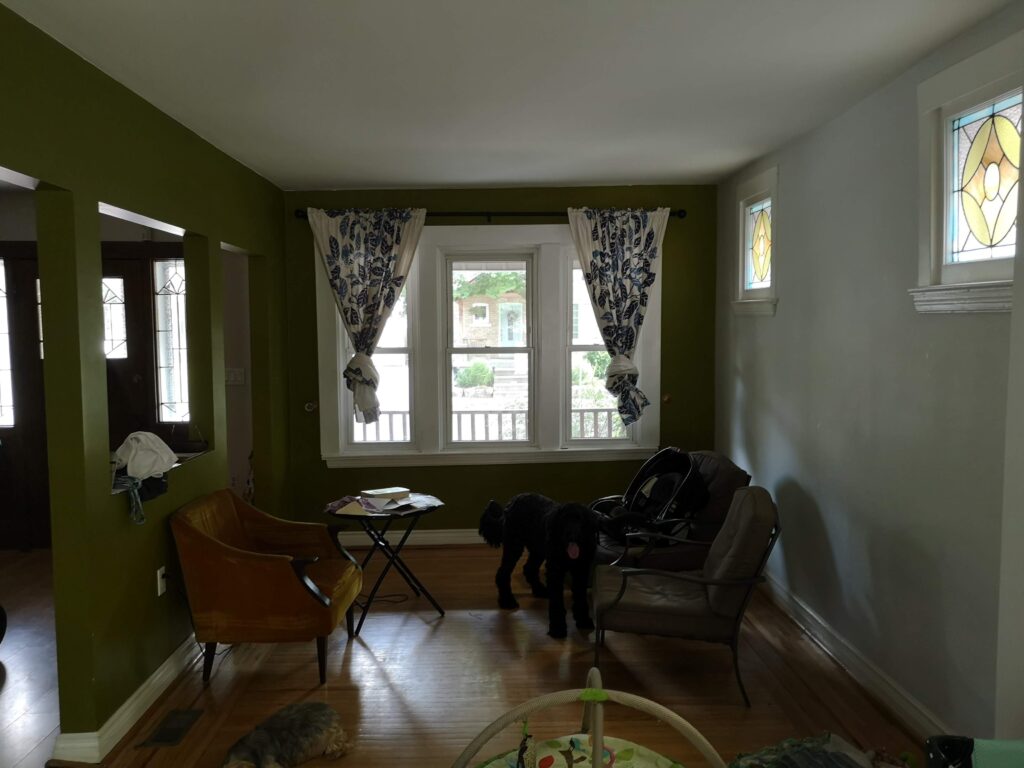
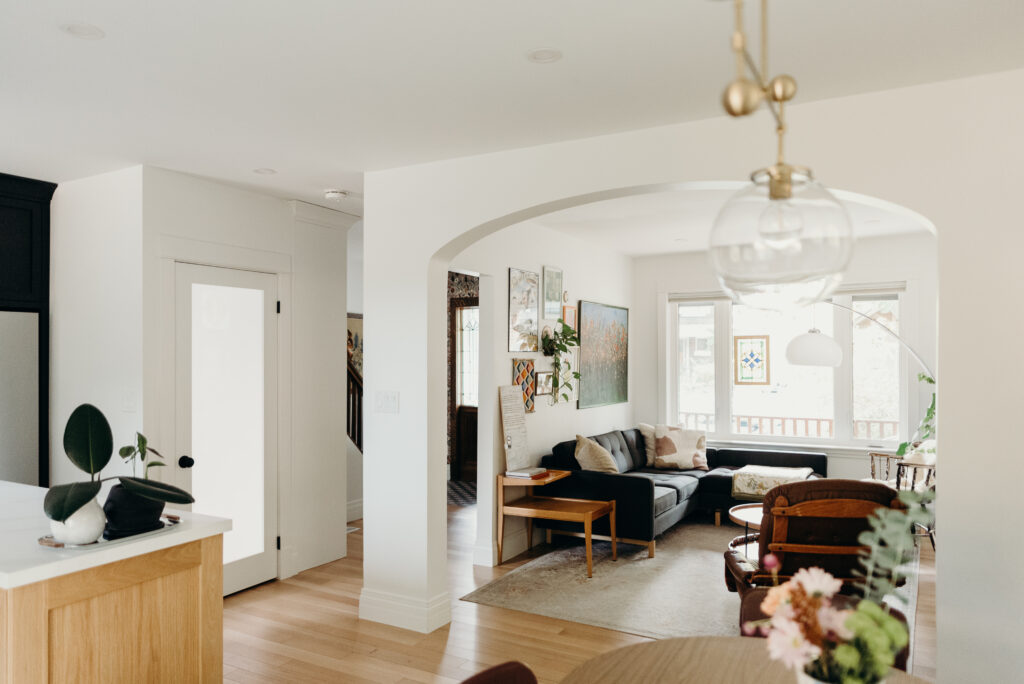
Here are a few photos of the rest of the space. You can see the classic 4 square layout (along with some weird cutouts/openings added in courtesy of the old owners), entry/living room on the front of the house and dining/kitchen at the back.

But where did we live? Over the summer leading up to the start of the renovation we (but actually mostly my husband, because as I mentioned, I was pregnant and mostly felt like trash) had hustled to get our attic space dry walled & painted. We moved our bedroom up there and then used our actual bedroom as a makeshift living/dining/kitchen space. So you know when I’m cheering you on mid renovation that I have BEEN there. I understand the renovation fatigue.
My favourite thing to tell people once they finish a long haul renovation like this is to please GO EASY on yourself, enjoy the space and the work that’s been done and let yourself recover. Renovation burnout is real and you don’t need to feel pressured to hang art on your walls until you’re ready.
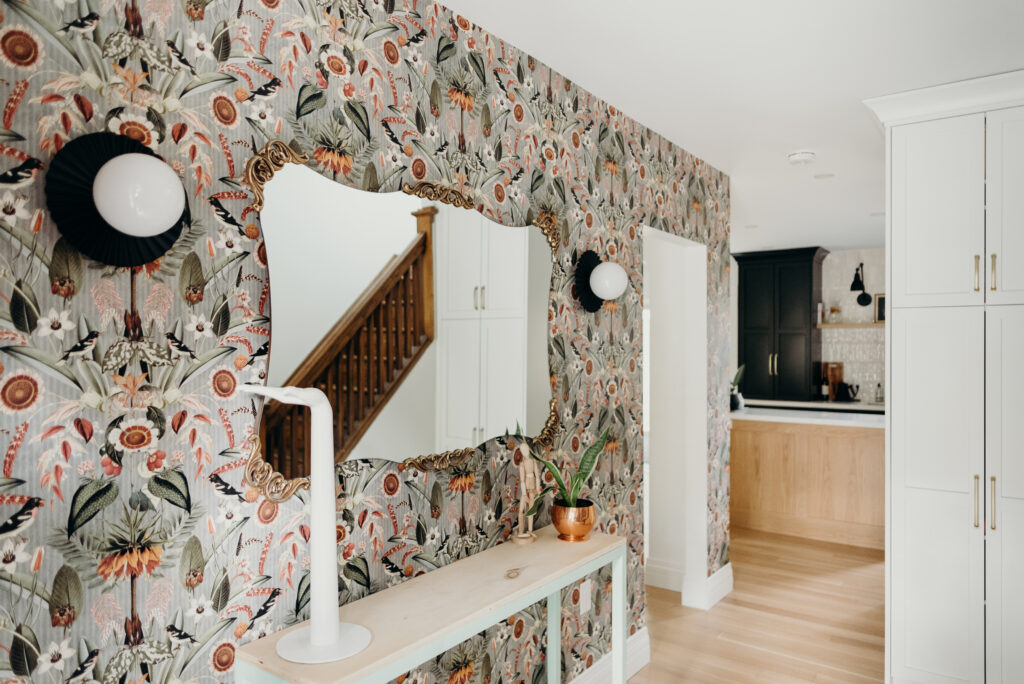
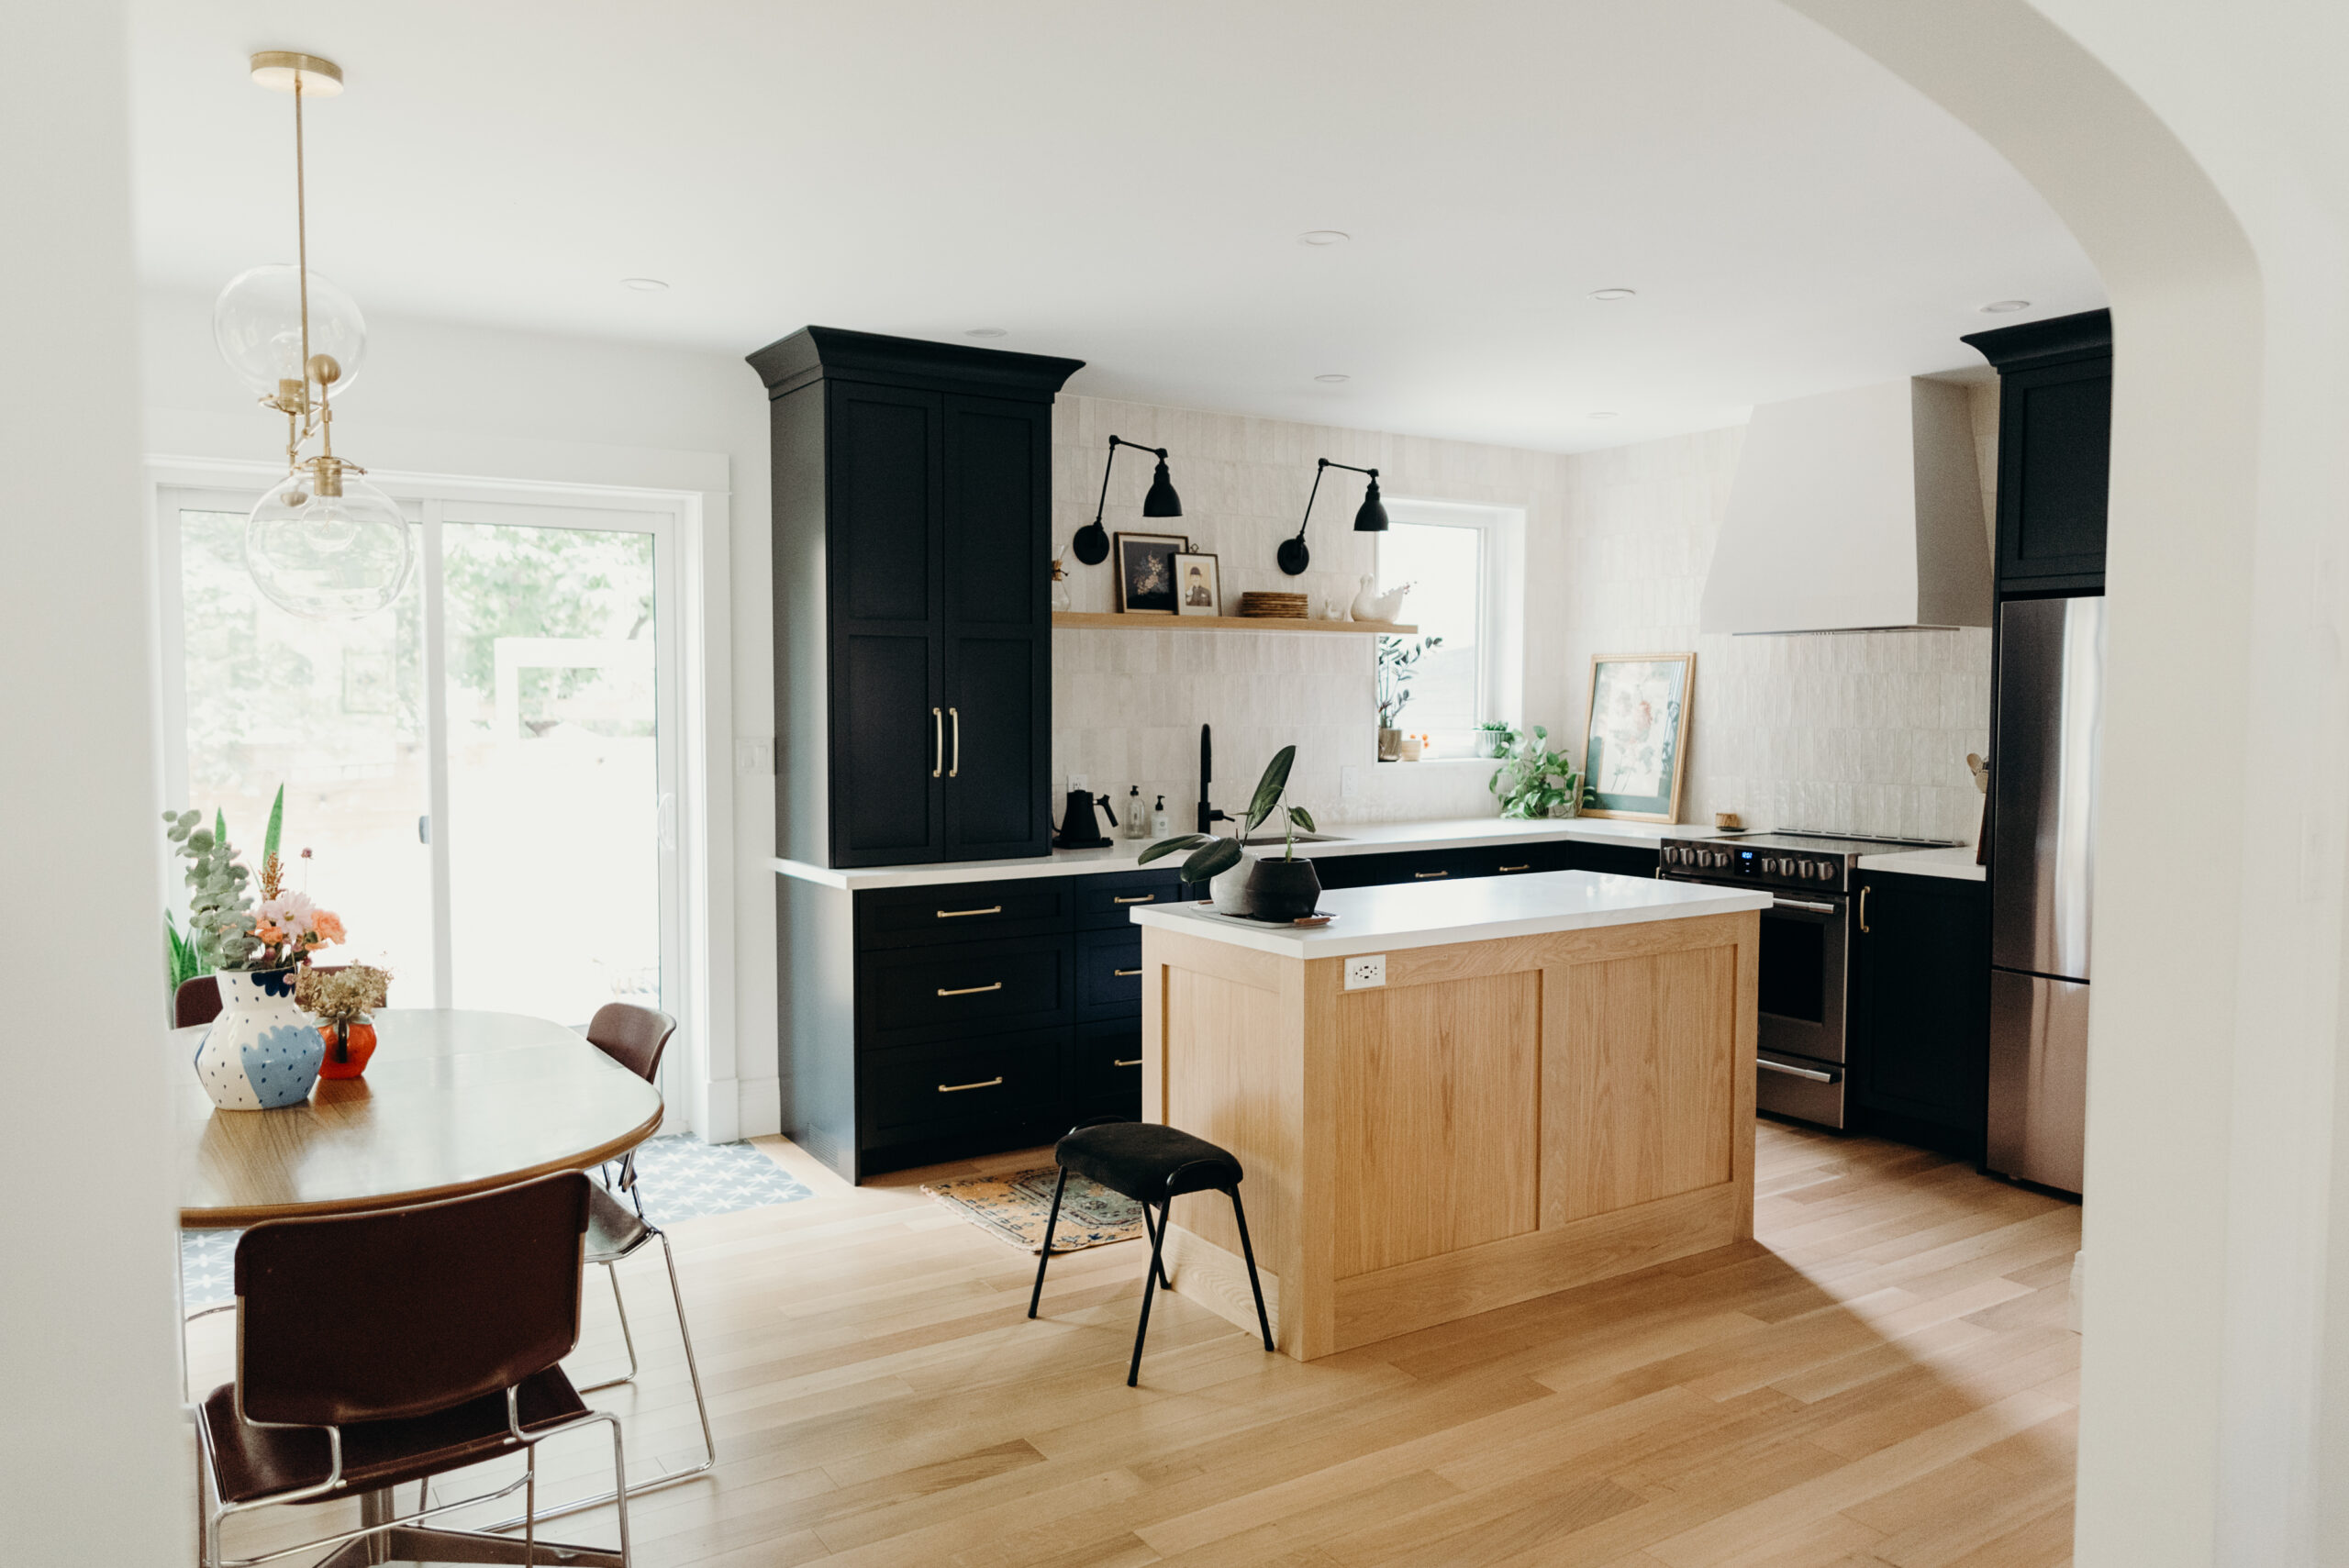
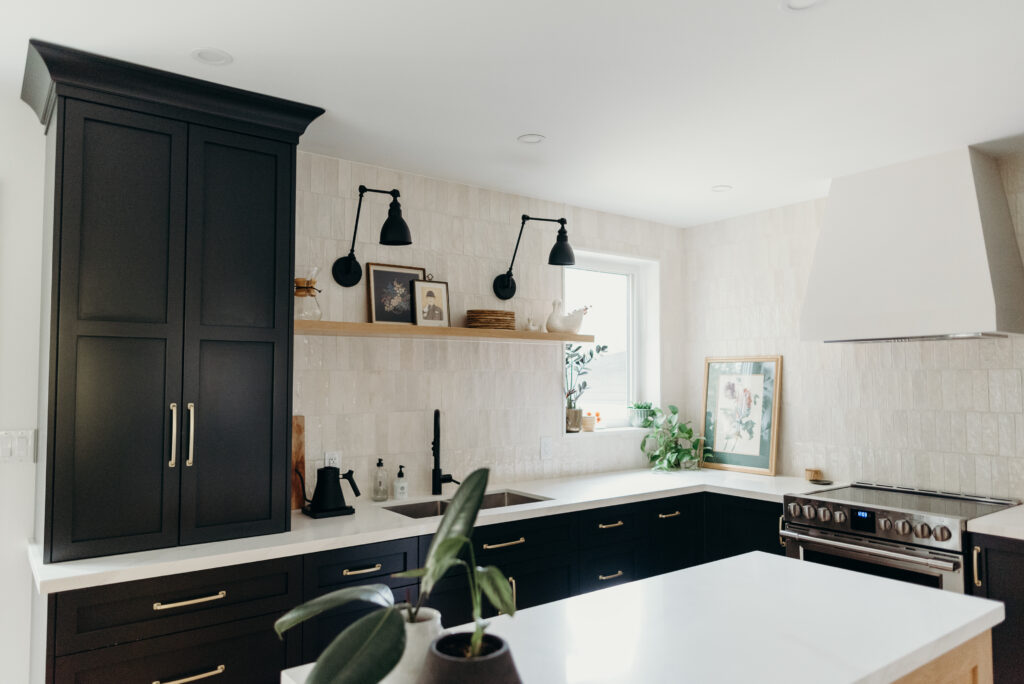
ANYWAY. I digress. Back to the renovation at hand. It was well underway and the entire main floor was gutted. New walls in some places, walls removed in others. Insulation, re-worked all the HVAC, structural beam installed, a bunch of digging in the basement, lots of concrete. All the fun stuff. One big bonus of this stage was that our contractor was able to make the beam flush in the ceiling so we don’t have any visible bulkheads between the kitchen and dining room which really makes the area feel even more cohesive. (By the way, our contractor was Venco Renovations and they also built all of the custom cabinetry you see in the space. Highly recommend!)

One of the hardest things (emotionally) we had to do for this project was to lose the original wood floors in the dining/living room area. The old owners had already removed/ruined the original floors on the other side of the house (with some really cheap crappy laminate I might add. I was verrry happy to see that go), and since we were opening up two rooms and each space is actually quite small to begin with, we needed something that would create cohesion throughout the whole main floor and give it the appearance of being larger. We ended up going with a narrow plank oak hardwood (which was weirdly hard to find, everyone wants that wide plank these days) so we could still have a nod to the old oak strip floors.
A significant layout change we made that really changed the flow of traffic through the space was moving the dining area from the centre of the room into the nook on the exterior wall. The original door to the backyard was actually in the kitchen, but the previous owners had installed a patio door in the dining room (it used to be a window) and had put a fridge in front of the original back door. (that’s right, they did nothing to seal it off. They actually just put a couple batts of insulation between the original door and the storm door. And then literally just stuck a fridge in front of it. True craftsmanship.) Although the way they dealt with the original door was poor, the layout change really worked and it enabled us to extend the new kitchen all the way to the patio door giving us a nice long run of cabinetry which wouldn’t have been possible with the old layout. And don’t worry, we closed up the old door properly. No more storm door insulation.
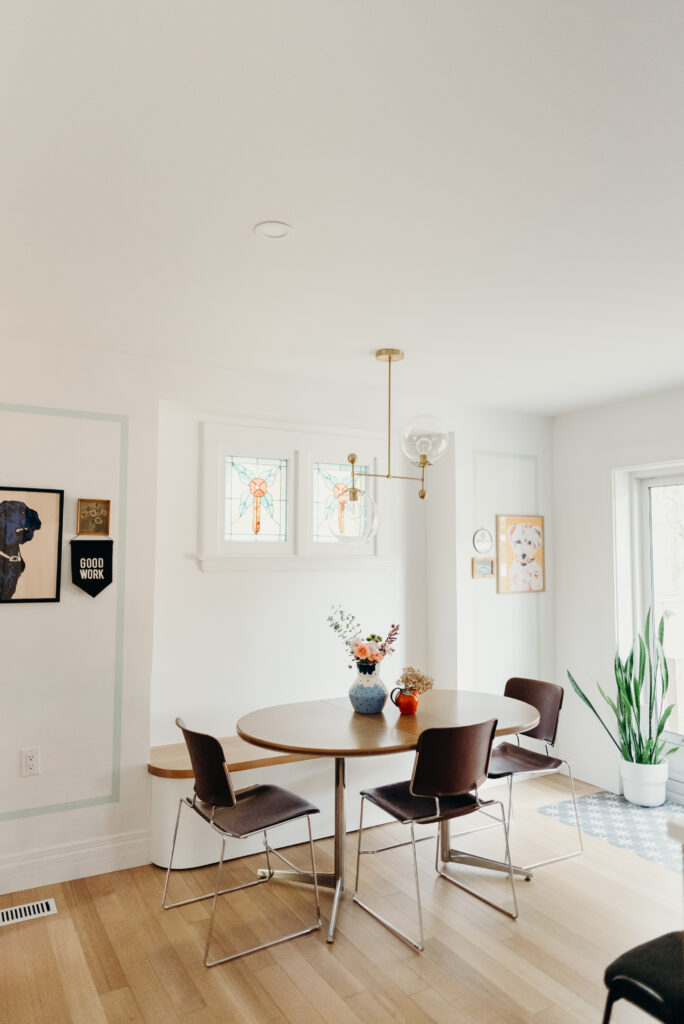
Since we moved the dining area into the nook on the exterior wall of the house, this was a great place to add some built in banquette seating. Our contractor was able to incorporate some extra storage under the lift top bench, so another place to tuck things away like our kids craft supplies and extra baking tins, etc.
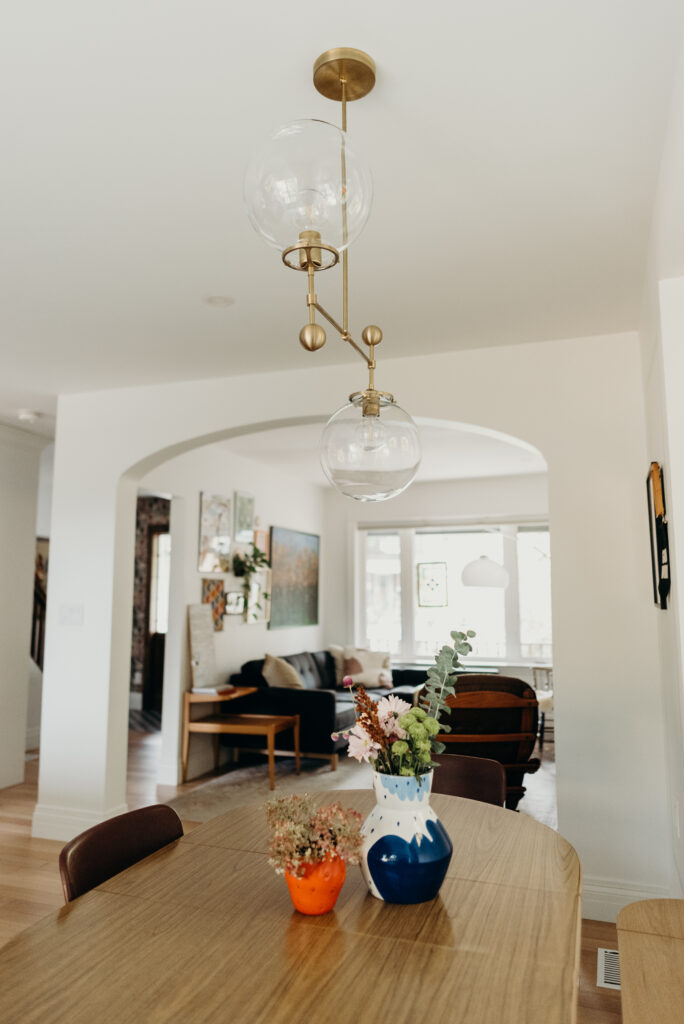
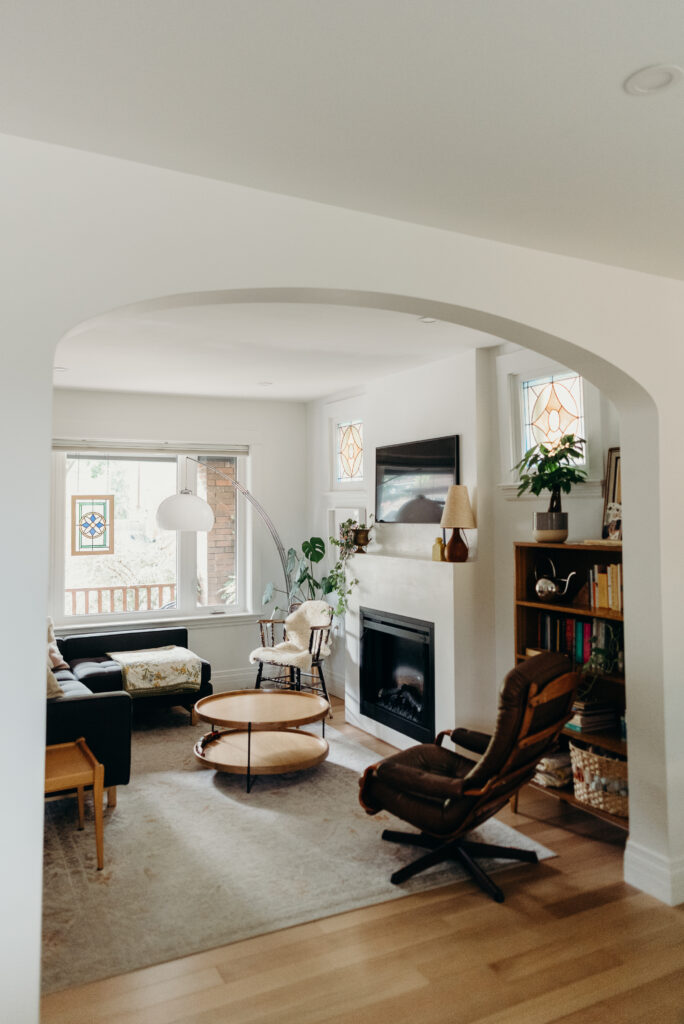
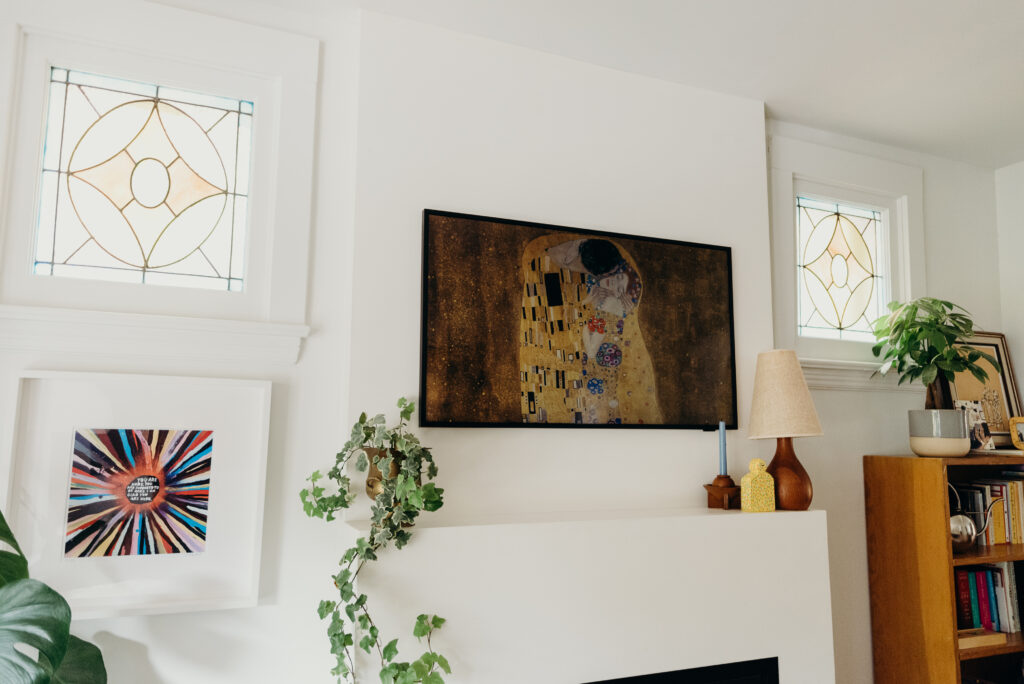
As I mentioned earlier, we really wanted to bring back in some elements that were reminiscent of the 1920s character. We added a fireplace in the living room (where there likely would have been one originally), re-orienting the room to make that the focal point. The fireplace is flanked by two of the original stained glass windows, putting them back in the spotlight where they belong. We also added in an arched opening between the dining and living room as a nod to what was likely once there and to bring some softness to the overall design.
And that is our main floor renovation in a nutshell! I will be doing a future post specifically about the kitchen and the thought process behind a lot of our decisions there. But please let me know if there is anything that you are curious about, I’m happy to answer what I can! Thanks for reading!

Read the Comments +